ASIO4ALL China Official Home
Windows ASIO Driver
简体中文
简体中文
Home
About
Imprint
Downloads
Instruction Manual
Introduction
Getting Started
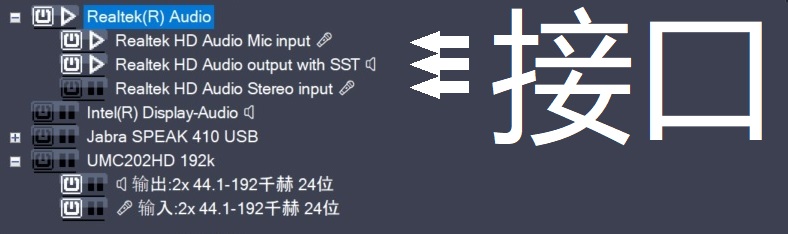
Basic configuration
Advanced configuration
Device aggregation
Latency Compensation
Hardware buffer
Kernel buffers/Buffer offset
Allow Pull Mode
Always resample 44.1◀▶48kHz
Force WDM driver to 16 bit
Optimization hints
Optimization hints
Getting Started
more
Basic configuration
more
Advanced configuration
more
1
2
3
4
Next Page